
Ticket Settings
The Ticket Settings page allows administrators to define how tickets are created, displayed, and integrated across the workspace.
How to Access
Go to Bots in the left navigation menu.
Under Development, select Ticket Settings.

General
Control key ticket behaviors inside the workspace:
Create ticket in chat session – Allow agents to create tickets directly from chat.
Default language – Set the ticket’s display language.
Translate keywords to English – Automatically translate ticket fields for consistency.
Domain
Personalize the ticket link to suit your business
Assuming you own the domain your-awesome-website.com and wish to configure example.your-awesome-website.com as a ticket, please follow these steps:
Access the DNS Management panel of the "your-awesome-website.com" domain.
Establish a CNAME record, directing "example.your-awesome-website.com" to "ticket.cxgenie.ai".

If your DNS Management panel has proxied settings, temporarily disable it until the verification is complete.
Input "example.your-awesome-website.com" in the provided input box and save the settings.
Allow approximately 30 minutes to 24 hours for the configuration to take effect.
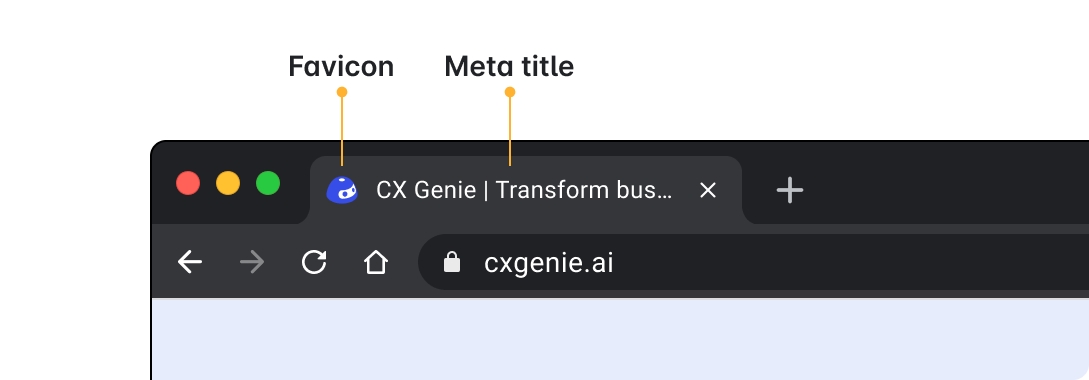
Choose favicon (PNG format), we suggest resolution is 48px x 48 px.
A favicon is your website logo that appears next to the meta title on your browser tab.
Integration
Website

Select language: you can freely choose the language of the ticket. You can also choose automation for using multiple languages.

Translate keywords to English: You can also edit the keywords displayed in the langage you are selecting to suit your context and preferences

You can use one of two codes based on your purposes: code snippet or send directly to the customer.
Mobile
You can integrate your mobile app by using the sample code React Native or Flutter. You can choose the language before embedding the code. See more in the settings.
Last updated